So what Tdarr is and who its for?
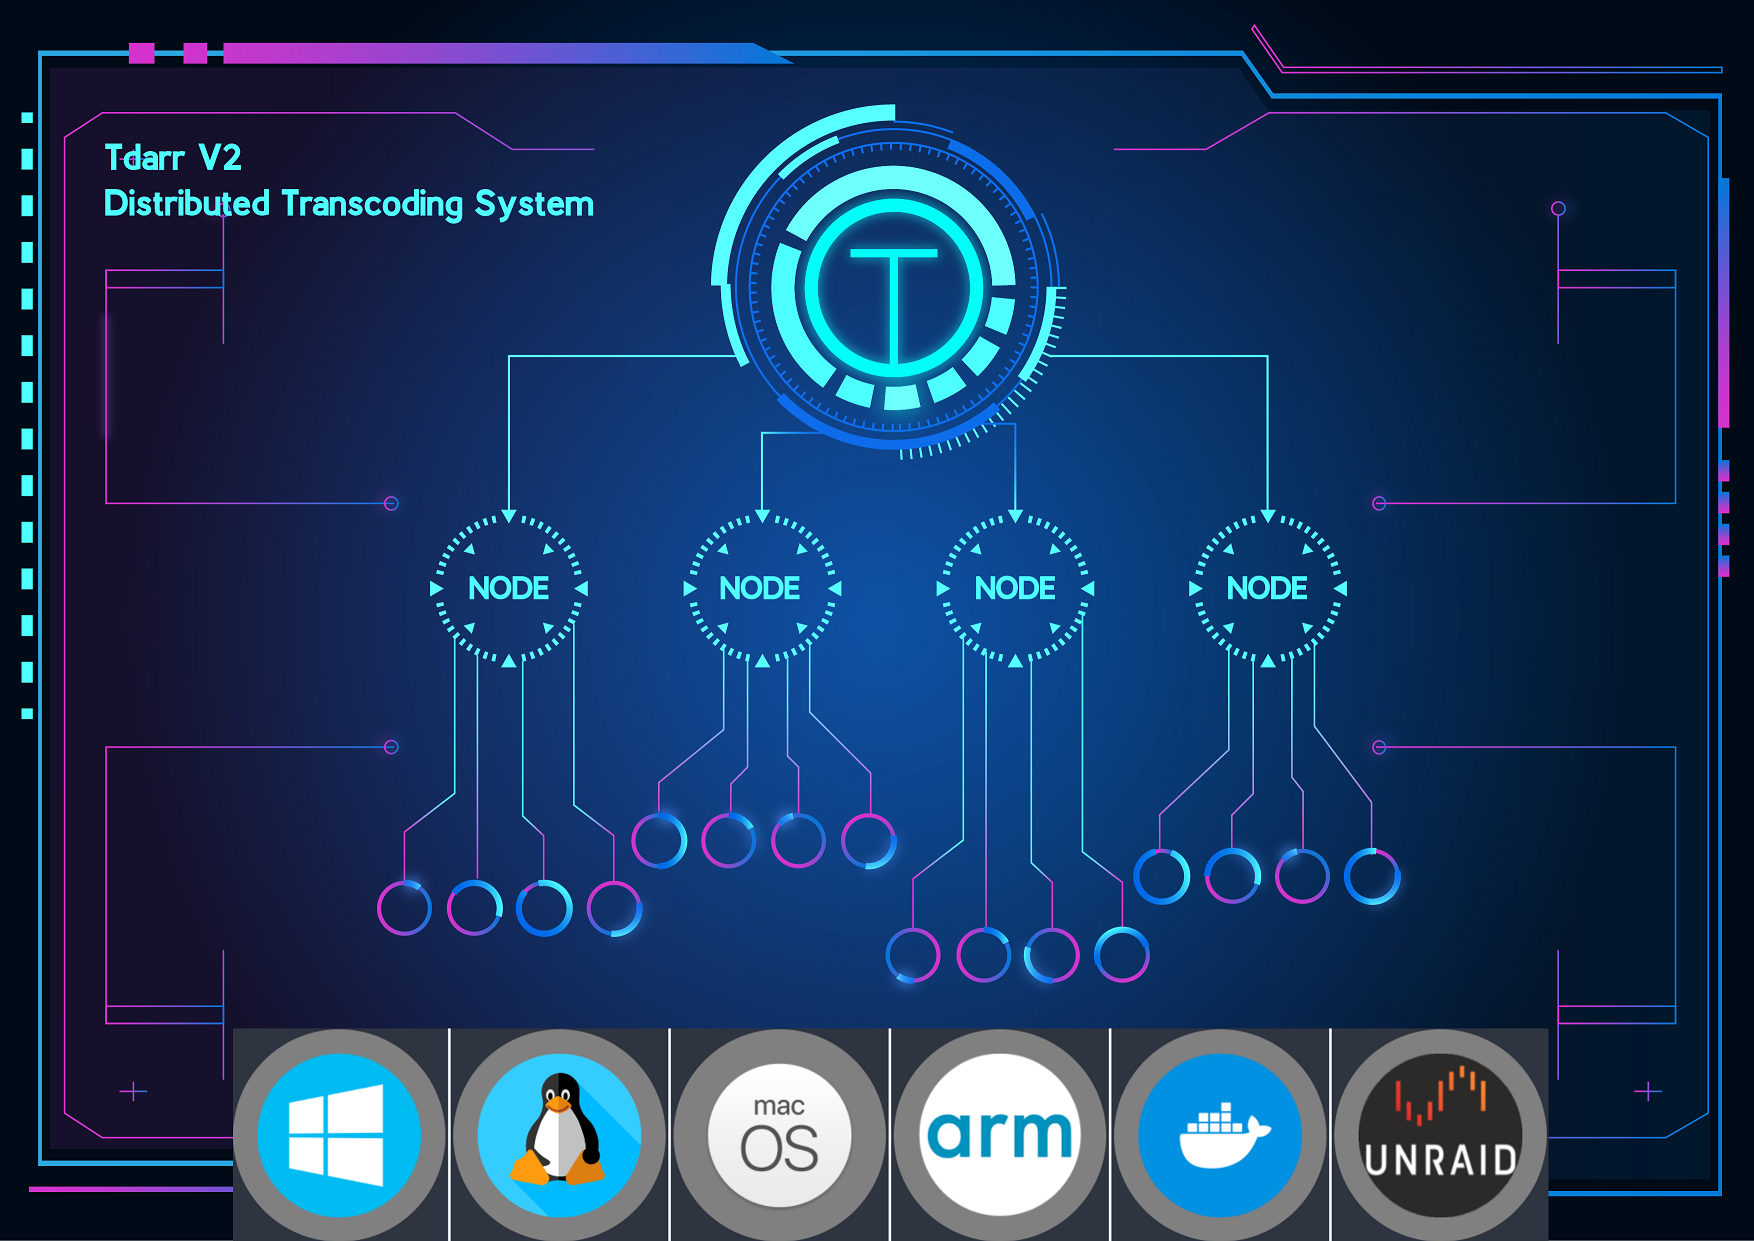
Tdarr is a two part software transcoding solution. One part is a server that stores configurations, manages the media library and assigns work to transcode nodes. Those nodes are the second part and they do they heavy lifting by performing the instructions that are issued by the server. The instructions can be dynamic using highly customizable JavaScript plugins to tailor fit each transcode to the needs of the media, or even just apply a cookie cutter compression to your whole library en masse.
Out of the box, this software could be HIGHLY beneficial for video content creators who likely have raw, unedited footage in the terabyte range. Maybe even their B-roll footage is terabytes! Once you wrap up production and ship the final edited version to YouTube or your platform of choice, do you really need uncompressed 8k footage you may never touch again? If you do, does it matter if its compressed? Most platforms use compression methods anyway – so would you notice if the quality stayed the same?
Another great purpose is media library cleanup. There are plugins are available to remove unwanted subtitle or audio tracks, as long as language is tagged properly. Some plugins can even help with uncompressed 5.1 audio and that alone can sometimes save a lot of space. All of this of course depends on your media.
So what the heck did you do?
I’m glad you asked. I wanted to only transcode media files that were clearly too large for my taste. If files were already lower quality, transcoding them further would be “garbage in, garbage out” meaning it wasn’t great to begin with and it wont be getting any better. In some cases, these low quality video files can actually grow in size. I wanted the original codec to decide how aggressive I was compressing files. This is because the biggest opportunity for data savings is from older media files. FRAPS was an old screen capture software from back in the day that saved HUGE .avi files. These days OBS can capture and save mp4 videos in a fraction of the size. The same idea applies here.
To get all this done, I took a plugin that was close to what I wanted and rewrote more than half of it; testing and tweaking for the better part of a month, maybe two. It checks the resolution and makes all configurable values scale accordingly. A video at 1080p will maybe have a cutoff of 1000kbps but that means 720p is 33% smaller and so the cutoff is 33% lower. I also consider the input codec. Anything already in H.264 or H.265 should already be well compressed, in theory. I’m also using a constant quality though, so a cutoff bitrate and compression by quality is not apples to apples. Since quality is a bit subjective, it’s likely impossible to quantify this. That means lots of tweaking! In all the media I’ve compressed I could probably draw a curve and see an optimal cutoff and compression level to get the most “bang for your buck”. For the instances where files grow rather than shrink, or files get encoded twice because they are still above the cutoff – I have logs pushing into a database that I can query and sort on. If I need to I can restore files from a backup.
In a nutshell, I start with a baseline bitrate cutoff and compression level. Older codecs should get nicely compressed so they are usually the best to judge with. If many large files are getting skipped, the cutoff is too high. If files are not shrinking very much (or worse, they grow) the cutoff might be too low or the compression quality is too high. If files are shrinking but the results don’t look good the compression quality is too low. Finally, if files are shrinking decently and quality doesn’t look heavily sacrificed than things are in a good place! The much sought after sweet spot has been found.
My results
This isn’t a competition and entirely depends on the source media quality, subjective definition of “good quality” and even how you plan on watching the media. A Dolby certified theater room setup will show flaws much more than the average living room flat screen TV – Still, I do still want to talk about my personal return on investment. Transcoding takes a lot of horsepower and electricity but storing large files you don’t need has its costs as well.
Most of my media fell into the same quality category as a 1080p YouTube video. It’s compressed, no doubt, but you also can’t find anything wrong with it. I could describe my viewing setup in the same way – I don’t have professional screens or speakers but I can easily enjoy a theater like experience without going to a theater or feeling like I’m missing out. Some of my media files stand out and be much larger file size but for no discernable reason. Yes there are technical reasons why these files were larger, but I couldn’t visually tell someone how to notice the difference because I honestly could not tell. It was those files I targeted and anything around YouTube quality would just get skipped. This had me saving anywhere from 50% on average right up to 83% on some files and without forensic analysis I couldn’t really tell. The low end of the scale was things like high action scenes like maybe footage from a football game but anything with static backgrounds or animated media such as gameplay capture, it does fantastic.
Lets get technical
Obviously writing a bit of code can be fun for anyone with the background and understanding but even with my code experience, video compression, HDR and all the settings and flags available were things I was just vaguely familiar with. So what do you need to know and do if you just want this to compress? Disclaimer: we are not responsible for any data loss. This is more anecdotal than a guide and all backups and precautions should be taken before going any further.
We all know the longer you record a video, the larger the file will be. It’s why Instagram or Snapchat break your videos into smaller ones and limit the time of each. This ratio of data and time is known as bitrate – often described in kbps or kilobytes per second. One minute of media at 1000kbps will be smaller than one minute of media at 5000kbps. As technology has improved the perceived quality when compressing media has allowed us to lower the bitrate of media without losing visible detail. The compression essentially throws out data as needed. What data it chooses depends on the technology and methods. H.265 is the newest kid on the block and has a lot of power and flexibility under the hood.
If your media files are all high quality and uncompressed, its very easy to tell Tdarr everything should get transcoded into H.265/HEVC with a bitrate you are happy with and call it a day! Heck, H.264 would even be great and provide lots of device compatibility. Your files will get considerably smaller and it should require a very close examination before you find any of the subtle compression artifacts. Finding the right bitrate will be the worst of your problems. Tdarr allows you to create a sample for any media file. If you’re not ready to dive into that you could use a program like Handbreak to test various settings and see if compression is even the right choice for you. There are lots of plugins in Tdarr to choose from, some have settings and others are totally hands off. If you are a content creator looking to save space something like the plugin Tdarr_Plugin_d5d3_iiDrakeii_FFMPEG_NVENC_Tiered_MKV Should be good.
BUT (of course there is a but) – If you’re anything like me, all your media is a mess. I have 4k and high fps footage from modern cell phones right down to low resolution video files off very digital cameras from early 2000’s. A plugin like Tdarr_Plugin_drdd_standardise_all_in_one will let you set a target bitrate so you know for sure how big your files will be. Using a constant bitrate may not be ideal since low quality videos might actually get LARGER after transcoded. Some Tdarr plugins have settings for a bitrade cutoff – meaning files that are already small will get skipped. This avoids a garbage in = garbage out situation and should keep files from growing.
BUT (again) high action videos may need higher bitrates to avoid ugly artifacts because of how the compression works. Using a constant quality setting instead can allow the encoding a bit of wiggle room. It instead tries to maintain a level of quality instead of sticking to a strict bitrate. This means the file size is less predictable, but the quality is more predictable.
Testing
Apart from the option to create a sample, Tdarr has the option to output to a different folder, rather than replacing the original file. As you experiment I highly suggest using this feature. If a file gets replaced you won’t have a good way to do side by side comparison of size or quality and without a backup you could lose the original quality forever! I would take a video I was confident was larger than necessary, allow it to compress and then open both videos and flip between them. If you have other steps like subtitle clean up or audio language clean up you may need to select a few files that meet various criteria and also different combinations of them. The plugin I wrote has lots of customization so I was able to start with a high cutoff bitrate and a low encode compression. This gave me an idea how much the very large files would be compressed to. From there I tweaked until I was happy with the ratio between processing time and space savings.
